Share
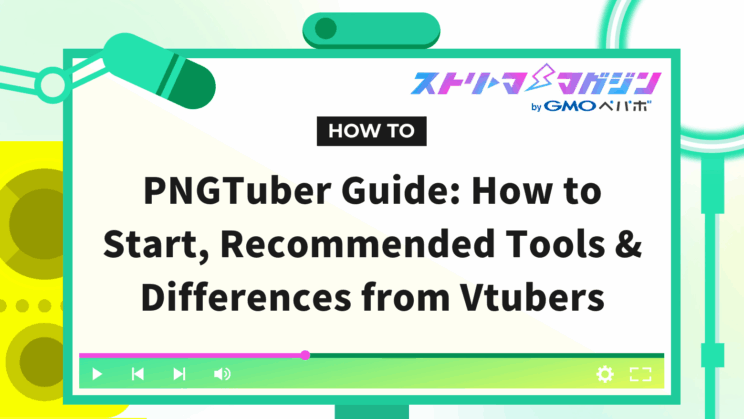
PNGTuber Guide: How to Start, Recommended Tools & Differences from Vtubers
When people think of VTubers, they may envision smooth-moving 3D or Live2D avatars. However, are you aware that there is a more accessible way to enjoy streaming with your own character?
That style is called PNGTuber.
This mechanism, which uses just two or four still images to make it look like the character is talking, does not require expensive equipment or a high-spec PC. Even if you’re not particularly skilled at drawing, you can create an avatar that reflects your personality with a little creativity.
Recently, more people have been starting to engage in streaming as PNGTubers, mainly focusing on gaming commentary and chatting streams.
In this article, we will sequentially introduce what PNGTuber is, the steps to actually get started, the necessary tools, and tips to enjoy streaming even more.

What is PNGTuber? A Simple Explanation of the Difference from VTubers

PNGTuber refers to a simple and accessible streaming style where you switch between a few still images to make it look like your character is speaking.
By responding to the mic audio to open and close the mouth, and by adding variations, the character can even blink, thus showcasing lively expressions with minimal material.
This style originated among streamers in foreign countries and does not require the complicated setups of 3D modeling or Live2D like VTubers do.
The focus is on using transparent PNG images and voice input, making it lightweight compared to 3D models, allowing you to start easily without a high-performance PC.
Differences Between PNGTubers and VTubers/Live2D
Many VTubers use cameras and motion capture to track facial expressions and body movements in real-time.
On the other hand, PNGTubers have limited types of movements but benefit from overwhelmingly simple settings.
The significant difference is that anyone can create their own avatar without the need for expensive equipment or specialized software.
Furthermore, because PNG images are used, the data is lightweight, and it won’t put a strain on your PC even when running streaming software and games simultaneously.
Due to this ease of use, many have taken the step of starting with PNGTuber before moving on to Live2D once they are accustomed to it.
Why It Is Widely Used Abroad and Is Spreading in Japan
The PNGTuber culture originally spread among English-speaking streamers.
The popularity is due to its ability to convey character personality without incurring costs and its compatibility with streaming tools.
In Japan, it is gradually becoming established among those who want to engage without showing their face or those who want to start streaming as a side project or hobby.
Some people take on the challenge by simply drawing easy illustrations themselves, while others who are not good at drawing utilize commission services to prepare avatar images.
Compared to VTubers, while the expressions and movements may be limited, the fun of PNGTuber lies in how you can clearly express your uniqueness through your speaking style, BGM, and scene settings.
It’s a beginner-friendly streaming style for those who want to “try it out first” or “share at their own pace.”
Benefits and Drawbacks of PNGTuber for Beginners
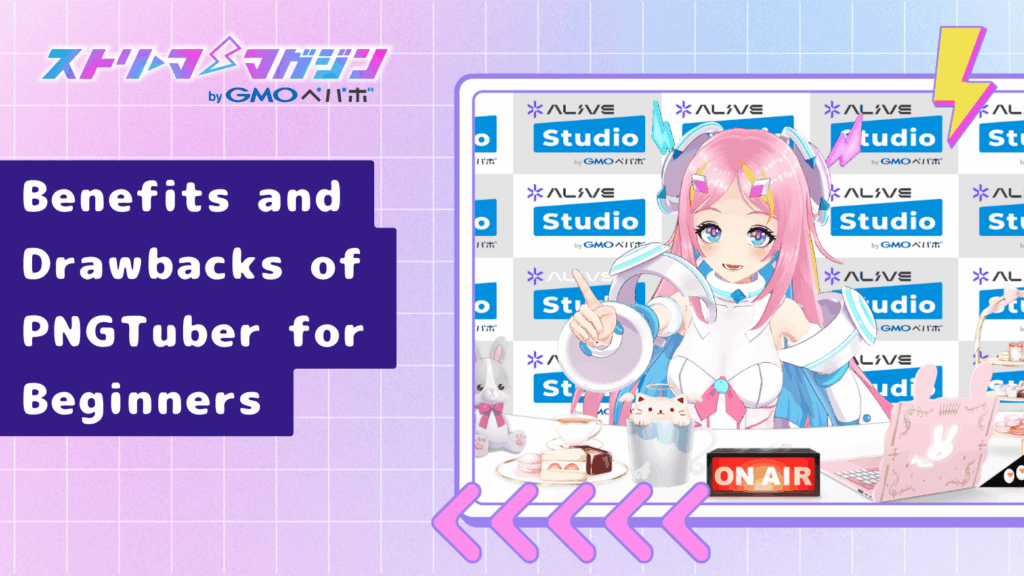
PNGTuber is an easy-to-start, yet limited streaming style.
Here, we will outline the advantages and points to note from a beginner’s perspective that you should know before actually starting.
Advantage: Start Easily Without Costs
The main charm of PNGTuber is its simplicity.
You can start streaming today without having to purchase expensive equipment or specialized software, as long as you have still images.
If you use free tools (such as Veadotube mini or PNGTuber Plus), your character will lip-sync with just your voice input, making the setup astonishingly simple.
Also, because the PNG format is relatively lightweight, it tends to work smoothly even alongside other applications like game streaming.
This is perfect for those who want to “experience streaming for now” or “talk with their own character without showing their face.”
Advantage: Highly Customizable and Evolves with Your Growth
The use of PNG images allows for a high degree of freedom in creation.
Whether to increase expression variations or change outfits is entirely up to you.
You can start with two images and gradually increase to four or six, enriching the movement and expression of your character.
Many people choose to step up to Live2D models when they think, “I want to make it move more,” making it a good first step for streaming activities.
Drawback: Limited Range of Movements and Expressions
While it is easy to start, PNGTuber has limitations in movement freedom.
Since continuous actions such as tilting the head or waving hands are generally not possible, it inevitably leaves a still image impression compared to 3D or Live2D.
However, some tools allow for simple effects like light shaking or bouncing of the character, making it possible to create atmosphere with some cleverness.
This allows the content of the talk or plan to stand out more easily, and you can also enhance it with backgrounds and other effects.
For those who want to captivate others more with their voice and speaking style rather than flashy animations, the simplicity can be just right.
Drawback: Requires Some Familiarity with Setup and Tool Selection
Even though the basic mechanism is simple, the setup screens and operating methods can differ by tool.
Initially, you might struggle to get the mic sensitivity and image placement right, potentially leading to a character whose mouth remains open.
However, once you learn how to use it, subsequent adjustments will be smooth.
With an increasing number of tutorial videos and articles in Japanese, it’s advisable to gradually test and become comfortable with it.
Four Preparation Steps to Start as a PNGTuber
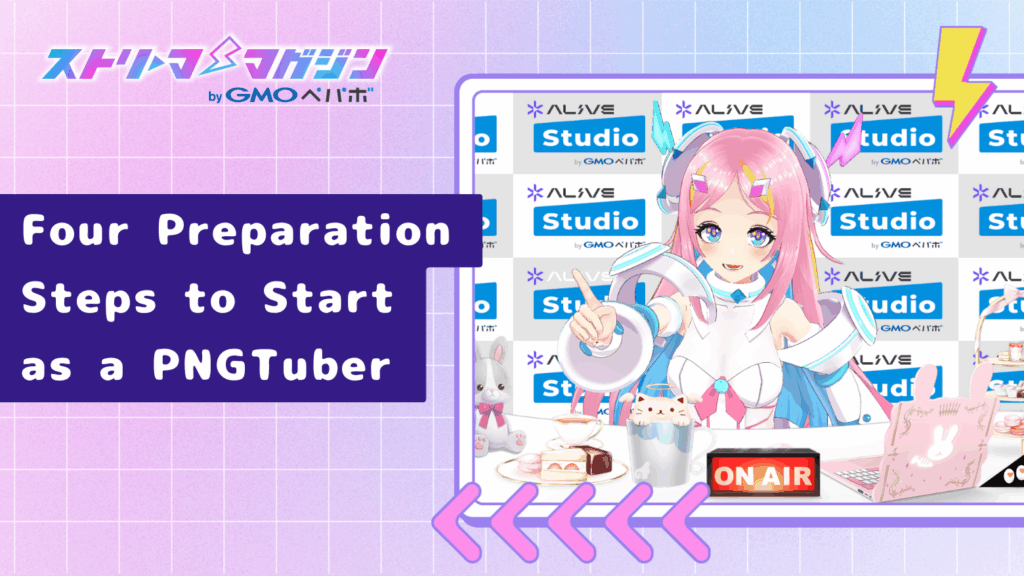
PNGTuber is appealing because you can start any day you think about it.
However, preparing a few things beforehand will help things run more smoothly than just jumping straight into the streaming software.
Here, we’ll present four steps to help newcomers prepare from creating their avatar to streaming seamlessly.
Step 1: Decide on the Character’s Concept and Design
The first thing to consider is the direction of your character, which will be your “avatar.”
You can use animal motifs, like cat ears or a plush toy style, or simply create a character that reflects yourself.
The key is to have a “design that won’t become boring even after long use.”
If you’re good at drawing, using your own illustrations can be a fun choice.
If you’re not confident, many people prepare illustrations using character makers (like Picrew), free resources, or commission services.
When using them for streaming, ensure you check the terms of use and whether “commercial use” and “secondary use” are permitted.
Step 2: Prepare the Required Number of Images and Expression Variations
For PNGTuber, multiple images are needed to make the character move.
The minimum setup consists of two images: one with the mouth closed and one with the mouth open.
With just these, you can have lip-syncing according to the microphone volume, making it look like the character is speaking.
If you want to enhance expressions, it’s recommended to include an “image of the character with closed eyes” to create a four-image setup.
Being able to express blinking makes the character appear much more lively.
If you have the capacity, creating variations like smiling or surprised expressions can be useful for reactions during streams.
Images should generally be around 1024×1024 pixels and kept to a maximum of about 2048×2048 for stability.
Making the background transparent (in PNG format) will also make it easier to layer in the streaming screen later on.
Step 3: Choose a Tool to Animate PNG Images
Once the images are prepared, you’ll need to get a tool to animate them.
Details will be mentioned in the next section, but representative tools include Veadotube mini, PNGTuber Plus, and PngTuber Maker.
Veadotube mini is a simple software that automatically switches images based on voice input.
Lightweight and with clear settings, it is user-friendly even for beginners.
If you want to create more intricate productions, PNGTuber Plus is recommended.
This tool allows for movement on a per-layer basis and can make characters lightly sway, enabling detailed adjustments.
Additionally, PngTuber Maker (available on Steam) also supports a Japanese UI, making it easy to intuitively set characters and accessories.
All tools can be tried for free, so it’s best to choose while comparing your experiences.
Step 4: Use OBS to Display on the Streaming Screen
Once your avatar can move, you’ll use the streaming software “OBS Studio” to display it on screen.
The steps are simple: just add a window for Veadotube mini in the “Sources” section of OBS.
For Windows, using “Window Capture” and for macOS 13 or later, use “Screen Capture” will provide stability.
If the background isn’t transparent, you can use chroma key compositing (the function to remove specific colors) to resolve that.
Adjust the avatar’s position and size, and layering it together with the game screen or background will give an instant streaming ambience.
Lastly, make sure to check the audio settings.
If the mic isn’t recognized correctly, it can lead to the character not moving.
Once you conduct a test stream, check the volume balance and timing of responses to ensure everything works smoothly.
With this setup, you’ll be ready to go.
It may start simple, but as you continue, you might naturally feel the urge to add more expressions and movements. For now, enjoy the feeling of talking with your own character.
Recommended PNGTuber Tools and Software for Beginners
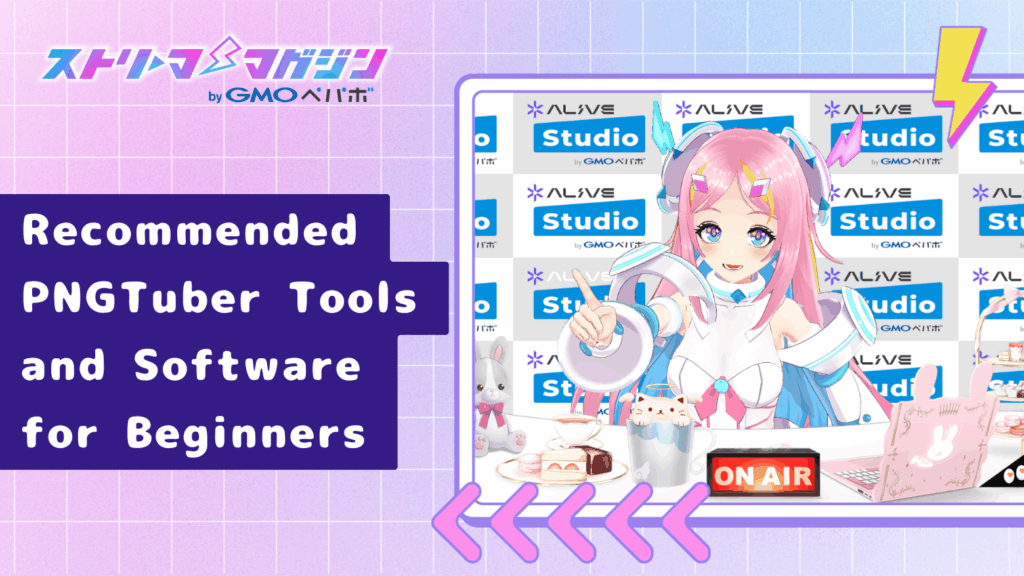
When starting activities as a PNGTuber, the tools for animating your character are essential.
Here, we will introduce three representative software tools that are beginner-friendly and used by many streamers.
All of these can be tried for free, so compare your experiences to choose what suits you best.
Veadotube mini
This is one of the most straightforward and popular tools for PNGTubers.
It responds to microphone input and automatically switches images, eliminating the need for complicated settings.
By simply registering two or four PNG images, you can express movements like lip-syncing and blinking.
Its lightweight performance is another major charm, allowing smooth usage even on low-spec PCs.
It supports both Windows and Mac, so you can easily start streaming by combining it with software like OBS.
PNGTuber Plus
This is a high-functionality tool suited for those who want to focus more on expression.
It has more adjustable settings compared to Veadotube mini, allows character movements on a per-layer basis, and lets you set motions that sway the body.
In addition to lip-syncing and blinking, you can add natural movements like breathing and bouncing, giving a softer visual impression.
Although it requires a bit of getting used to due to its high degree of freedom, mastering it allows you to easily express your individuality.
This is perfect for those who want to create personalized performances or to give their screens a lively atmosphere.
PngTuber Maker
This is free software available on Steam and has a Japanese UI.
It allows you to intuitively arrange character images and configure basic settings, so even beginners can quickly animate and test it.
It features clear operation, making it suitable for simple streaming styles.
Its functionality for freely switching accessories and backgrounds makes it easy to enjoy customization.
This is recommended for those who struggle with complicated settings but want a visually appealing setup.
Make Streaming More Fun! Ideas for Utilizing PNGTuber

Even with just a few images, PNGTuber can change impressions to resemble VTubers through creative presentation and effects.
Here, we will introduce ideas to make your streaming more enjoyable and to bring your audience closer.
Make Your Character Come Alive with Application Settings like Blinking and Motion
PNGTuber is not just about “the mouth moving.”
With some tools, you can add gentle up-and-down motions or natural movements that look like breathing.
For example, with PNGTuber Plus, you can apply swaying and bouncing effects per layer, allowing expressions that seem almost alive.
Increasing variation in expressions is also effective.
Simply switching between “smiling,” “surprised,” and “sleepy” expressions can change the mood according to the scene.
By assigning keys to show/hide image sources in the OBS settings → hotkeys, you can switch expressions with just a button.
Enhance Streaming Presentation with Overlays and BGM
Just organizing your background and frames (overlays) can significantly change the atmosphere of your streaming.
Choosing colors and motifs that match your character’s world will create a cohesive look, making it easier for newcomers to remember your content.
For instance, Canva offers numerous templates for streaming overlays, and many overlay materials are distributed and sold on BOOTH.
BGM can have a similar effect; using music samples or royalty-free audio can help create a relaxed atmosphere during discussions.
Sites like Audiostock and YouTube Audio Library are staple audio sources. Make sure to follow each site’s terms of use when using them.
When playing BGM, a good tip is to adjust the volume to be slightly lower than your voice, ensuring it doesn’t become distracting during conversations while maintaining a pleasant atmosphere that isn’t completely silent.
Utilization and Growth on YouTube, Twitch, and TikTok
If your activities revolve around streaming, it’s important to be aware of the characteristics of each platform.
YouTube has a strength in its system where archived and short videos can be viewed for a long time.
Uploading highlight reels from streams or videos introducing yourself and your content can help attract new viewers.
Twitch pairs excellently with real-time chatting and gaming streams.
With many overseas listeners visiting, enjoying interactions in the comment section is a popular style.
TikTok tends to favor shorter clips or “reaction video” formats to gain traction.
It’s also recommended to create humorous videos using PNGTuber characters that align with trending audio.
Using Canva or CapCut makes editing easy, even with just a smartphone.
Enjoying Communication with Fans
Similar to VTubers, PNGTubers facilitate close communication styles through streams.
Picking up viewer comments during streams and setting up hashtags on X (formerly Twitter) to call for fan art can motivate you to continue your activities through small interactions.
Also, establishing habits like “setting days for regular streaming” or “changing themes every week” can make it easier for viewers to remember you.
Even starting with small streams, over time, you’ll likely see a gradual increase in fans who are drawn to your character.
PNGTuber allows for a low-barrier start, and with creativity, you can express your uniqueness.
Starting with “just voice and still images” will naturally evolve into your own unique expressions as you continue.
Rather than aiming for perfection, the first step towards being a long-loved PNGTuber is to focus on enjoying the process.
What Are the Recommended PC Specs and Equipment for PNGTuber Streaming?

PNGTuber streaming is significantly lighter compared to VTuber streaming with 3D models.
That said, depending on your computer’s performance and mic quality, video and audio may sometimes drop out or lag.
Here, we will introduce the specs that will comfortably allow for streaming, as well as the essential equipment you should prepare.
Recommended Specs for Comfortable Streaming
Since the PNGTuber mechanism is lightweight, it can often run even on the laptops you normally use.
However, even if the OBS requirements are met, streaming quality can vary based on the game’s intensity and the number of sources, so it’s best to consider a setup with some margin.
If you’re doing game streaming or using OBS to record, it’s wise to select a slightly more capable PC for stability.
| Item | Recommended Specs (Comfortable Operation) |
|---|---|
| CPU | Intel Core i5 / Ryzen 5 or higher |
| Memory | 16GB or more |
| GPU | NVIDIA GTX 1650 or equivalent AMD GPU (supports hardware encoders like NVENC to reduce CPU load) |
| Storage | SSD 512GB or more |
| Monitor | Full HD (1920×1080) or higher recommended |
If you have a PC of this class, you can run streaming software, browsers, and games simultaneously without any issues.
When streaming from a laptop, using a cooling pad can help ensure stability by preventing overheating.
Furthermore, if you’re doing 1080p60 streaming, an upload speed of about 6000 kbps or more is recommended (according to Twitch standards).
For YouTube, an upload speed of about 10-12 Mbps is recommended, so adjust according to your streaming target.
If possible, a wired LAN connection is recommended.
If you are concerned about the recommended PC specs for OBS streaming, please refer to the article below.
OBS Requirements Guide: From Recommended PCs to Running Without a GPU!
Selecting Microphone, Camera, and Peripheral Equipment
Since PNGTuber operates through mic input to animate characters, the quality of the mic is crucial.
If the audio quality is poor, your character may not respond correctly, so USB condenser mics are recommended.
Examples of Microphones
- FIFINE K690/K683 (USB connection, high quality around 10,000 yen)
- SHURE MV7 (supports both XLR and USB, popular among streamers)
- audio-technica AT2020USB+ (a stable and classic model)
A camera is not essential.
Since PNGTuber operates on the principle of switching images based on mic audio input, it’s unnecessary to use cameras or tracking devices.
However, if you plan to transition to Live2D or 3D models in the future, choosing a webcam with face tracking capabilities (such as the Logicool C922n) will not be wasted.
Helpful Peripheral Devices
- Pop Filter / Microphone Arm: Prevents breath noise and stabilizes volume
- Ring Light: Provides brightness when using face or hand cameras
- External SSD: Useful for storing recorded data and streaming materials
- Dual Monitor Setup: Ideal for operating OBS and checking comments simultaneously
There’s no need to gather expensive equipment from the get-go.
First, try streaming with your current setup, and gradually upgrade as your streaming gains traction.
Conclusion
PNGTuber is a new streaming style that can be easily started without the need for equipment or technical expertise.
All you need are a few images and your voice.
No complex preparations like 3D modeling or Live2D are required, so you can begin your activities from the very day you decide to.
For those who want to “entertain someone with their voice” or “start streaming on a small scale,” PNGTuber is truly the perfect first step.
You might feel anxious before starting, but everyone begins with uncertainty. Even with simple standing images, as you stream, connections with fans will develop, and your character and presentation will gradually grow.
You can have plenty of fun with free tools, and as you get used to it, you can slowly upgrade your equipment and presentation.
There’s no need to strive for perfection right away. Start by finding your unique streaming style through the PNGTuber method.