Share
Free OBS Tutorial: How to Add Echo to Your Stream with Audio Filters

Index
“The audio quality of the stream is not quite there, and the audience’s reaction is muted”, “I want to use echo in my singing sessions to create a sense of presence” — if you’ve had these concerns, you’re not alone.
With OBS, you can easily enhance the audio of your stream by adding echo for free, without needing special equipment.
This article will explain how even beginners can set up echo in OBS and recommend the best tools for the job.
By reading this article, you’ll be able to immediately create engaging audio effects that captivate your audience, significantly boosting the appeal of your stream.
For those who are particular about sound design, this is a must-read.

The Benefits of Using Echo in OBS Streaming
Incorporating echo in live streaming using OBS adds richness and depth to vocals, allowing you to provide an immersive audio experience.
The echo effect plays a crucial role in making viewers feel like they are in a studio or live concert hall environment.
Especially in singing streams, even simple acapella or ballads become more captivating as the echo accentuates the reverberation, enhancing the overall appeal of the performance.
3 Free Ways to Add Echo in OBS Streaming
You can add echo to your OBS stream for free. Here, we introduce three easy methods to try out echo effects.
- Using VST Plugins
- Using Voice Changer Software
- Using Voice Effects Devices
Let’s take a detailed look at each method.
If you’re unfamiliar with how to set up game streaming with OBS, check out the following article for guidance.
For Beginners! Easy-to-Understand Guide to Game Streaming with OBS Studio with Image Guides
Using VST Plugins
To add echo in your OBS stream, using VST plugins is an effective method. VST plugins are software that allow for detailed audio effect adjustments, with many options available for free.
Here, we will explain the steps to set up echo using the following recommended plugins.
- Oril River
- SANFORD REVERB
- Valhalla Super Massive
Let’s examine each one.
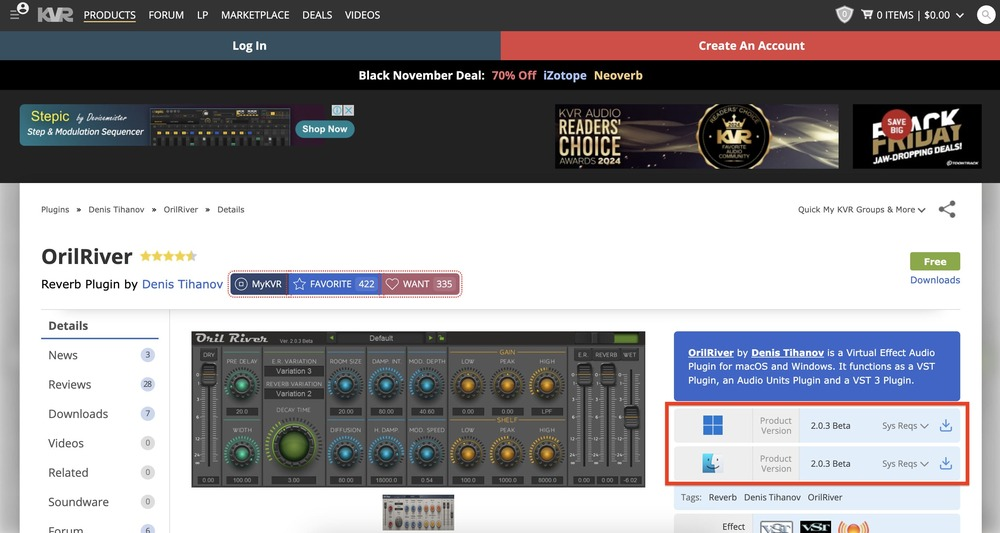
Oril River
Oril River is a free plugin providing high-quality reverb effects. With various settings available, it is suitable for those who want to professionally process audio.
Here’s how to set up echo using Oril River.
- 1. Download
Download the plugin from the official website.
- 2. Open the file
Open the downloaded folder.
- 3. Copy the file
Copy “OrilRiver.dll” from the extracted folder.
- 4. Create VST Folder
Create a new folder named “VstPlugins” in the “Program Files” folder on your PC’s C drive and paste “OrilRiver.dll” into it.
- 5. OBS Setup
Launch OBS Studio and from the microphone menu, select “Filters”.
- 6. Add Plugin
Click the “+” in the filter screen and add “VST 2.x Plugin”.
- 7. Select Plugin
Select “OrilRiver” in the added plugins and click “Open Plugin Interface”.
- 8. Setting
While playing the audio, adjust the reverb effect to complete the process.
With not only reverb but various microphone settings, it can be used like a professional audio interface. Oril River is recommended for those who are keen on fine adjustments.
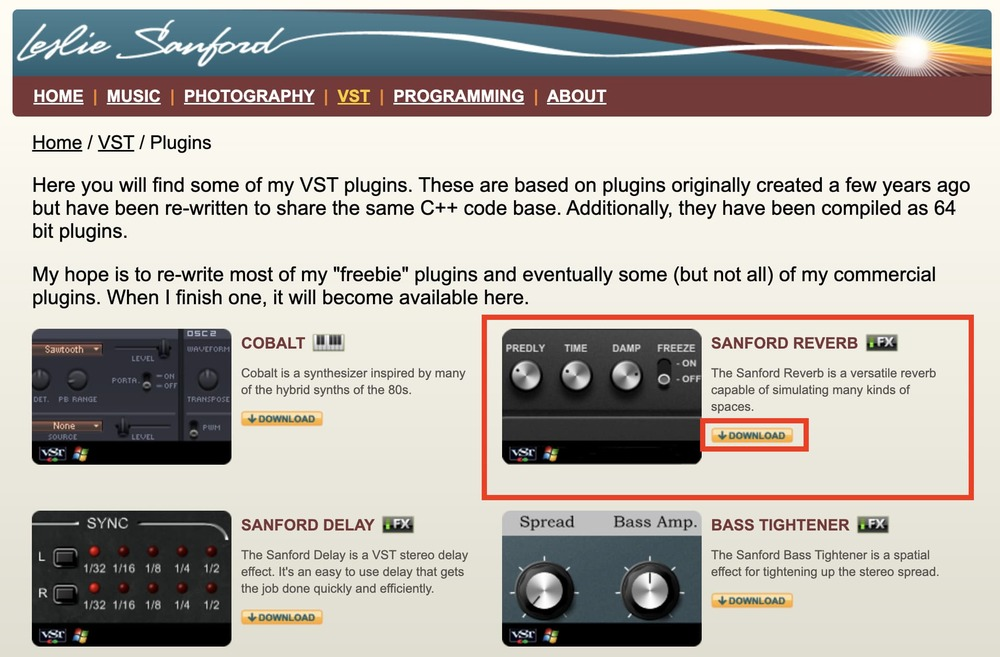
SANFORD REVERB
SANFORD REVERB is a simple and easy-to-use free reverb plugin. It’s easy to set up and recommended for first-time plugin users.
Here’s how to set up echo using SANFORD REVERB.
- 1. Download
Download it from the official website.
- 2. Open the file
Open the download folder and copy “SanfordReverb.dll”.
- 3. Create VST Folder
Create a “VstPlugins” folder in the “Program Files” on the C drive and paste the copied file there.
- 4. OBS Setup
Launch OBS Studio and select “Filters” from the microphone menu.
- 5. Add Plugin
Click the “+” button in the filter screen and add “VST 2.x Plugin”.
- 6. Select Plugin
Select “SanfordReverb” from the added plugins and click “Open Plugin Interface”.
- 7. Setting
Adjust the reverb strength and depth to set your ideal audio effect.
Make sure you exit with the “Close Plugin Interface” button properly, or you will have to close the filter settings screen once to open it again. Be cautious.
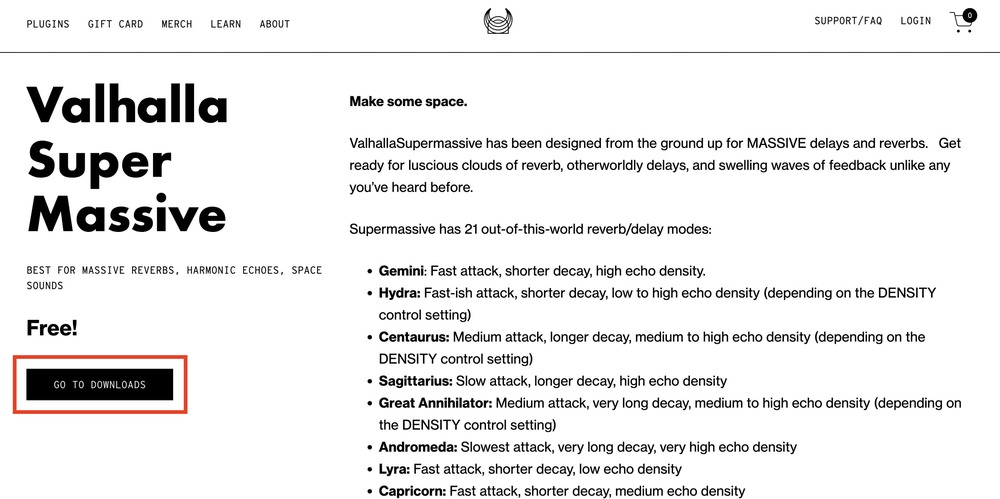
Valhalla Super Massive
Valhalla Super Massive is a plugin with a wide range of presets and unique sounds.
It offers a wealth of presets that even beginners can easily use, and has a broad range of effects.
Follow these steps to set up echo using Valhalla Super Massive.
- 1. Download
Download the free version from the official site.
- 2. Open the file
Open the downloaded file.
- 3. Start Installation
Run the installer in the folder and install it. It’s recommended to choose the 64-bit VST 2.4 Plugin.
- 4. OBS Setup
Start OBS Studio and open “Filters” from the microphone menu.
- 5. Add Plugin
Click the “+” on the filter screen and add “VST 2.x Plugin”.
- 6. Select Plugin
Select “Valhalla Supermassive_x64” from the plugins and click “Open Plugin Interface”.
- 7. Setting
Choose effects from the abundant presets or adjust the parameters yourself.
Valhalla Super Massive is recommended for those who want to explore a wide range of effects or achieve easy settings.
Using Voice Changer Software
By utilizing voice changer software like “iMyFone MagicMic”, you can apply echo effects in real-time during your stream.
MagicMic is user-friendly and equipped with a variety of voice effects, making it broadly useful for both beginners and experienced streamers.
Here’s how to set up echo effects using MagicMic in three steps.
- Install iMyFone MagicMic
- Configure Echo Settings
- Link the software to OBS
Let’s take a closer look at each step.
Install iMyFone MagicMic
First, download and install iMyFone MagicMic from the official site.
Once installed, launch the software and select the microphone and headphones you will use.
Choosing the devices ensures that the echo effects through OBS accurately reflect your microphone’s inputs, resulting in clearer audio during streams.
Configure Echo Settings
Launch OBS and go to the “Audio” tab within the “Settings” menu.
For Windows, select “Microphone (MagicMic Virtual Audio Device)”; for Mac, choose “Blackhole 2ch (*).”
This setup allows OBS to recognize the modified audio through MagicMic as input.
* “BlackHole” is necessary on Macs. For instructions on installation, refer to “If Only ‘Disabled’ Appears Under Desktop Audio” in the linked article below.
How to Share/Link Discord Audio & Screen in OBS Streaming
Link the Software to OBS
Finally, connect MagicMic to OBS to complete the linkage. Open the “Voice Box” tab in MagicMic and choose the echo effect to activate it.
This configuration allows echo effects to be applied to your voice during streaming, adding breadth and depth to the sound.
With this setup, you’ll deliver immersive soundscapes to your audience, enhancing your live streaming experience even further.
Using Voice Effects Devices
You can add professional-grade echo effects to your streams using a voice effects device. Dedicated equipment provides stable sound quality and allows for precise adjustments.
Here’s how to configure echo settings using the Roland VT-4 in three steps.
- Purchase and connect a vocal effects processor
- Configure OBS settings
- Check the operation of the effects device in OBS
Let’s delve into each step.
Purchase and Connect a Vocal Effects Processor
Begin by purchasing a Roland VT-4 vocal effects processor from Amazon or another retailer.
After purchase, use the included connection cable to connect it to your PC. Dedicated equipment ensures high-quality echo effects.
Configure OBS Settings
Launch OBS, go to “File”, and then “Settings”. Under the “Audio” tab, select “Roland VT-4” under “Microphone/Auxiliary Audio Device”.
Check the Operation of the Effects Device in OBS
Move the reverb or echo adjustment sliders on the effects device to verify the audio effects. Adjust to your preferred intensity while checking if it functions correctly in OBS.
Recommended Audio Filter Settings for Echo (Reverb) and Noise Reduction in OBS
The audio quality of your OBS stream is tied directly to viewer satisfaction. Properly setting audio filters in the sound mixer is essential to ensure listeners can hear comfortably.
Sometimes, removing echoes and reducing noise is essential for achieving clear streaming audio.
Here are three recommended audio filter settings.
- Gain
- Noise Suppression
- Compressor
Let’s explore each one.
Gain
Gain is a filter that amplifies the volume when the audio is low. Use it when your microphone’s voice is hard to hear, as it clarifies the sound.
However, be cautious not to increase gain too much, as it may result in more noise. Using it along with noise suppression is recommended.
A setting of around 8dB is a guideline, but adjust it according to your environment. With proper use, you can deliver clear audio to your audience.
Noise Suppression
Noise suppression is a filter that reduces background noise and unwanted sounds during streaming. For example, it can reduce keyboard clatter and air conditioning noise.
Choosing “RNNoise” in OBS often results in clearer audio.
Using noise suppression provides an environment where viewers can focus on clear audio without distractions from unnecessary noise.
Compressor
A compressor is a filter that evens out audio levels.
It effectively suppresses sudden loud noises and makes quiet voices easier to hear. Stable volume levels allow for a more pleasant viewing experience for your audience.
Guideline settings are a ratio of 1.5:1 to 10:1, attack time of 3–6ms, and release time of 10–60ms.
Properly adjusting the compressor enhances overall audio quality, bringing it closer to a professional broadcast.
If your mic isn’t working in OBS, this article walks you through the likely causes and how to fix them step by step:
Mic Not Working in OBS? Common Causes and How to Fix Them
And if you’re curious about enhancing your audio setup, don’t miss these follow-up guides:
Top 7 Free VST Plugins for OBS – Installation and Use Tips
Voice Changer Tools for OBS – Recommended Software and Easy Setup Guide
This guide has explained in detail how to add echo to your OBS streaming. With the right settings, you can achieve immersive audio effects.