Share
Top 7 Free VST Plugins for OBS: Easy Installation Guide
Index
Do you have concerns about your game commentary or live streaming, like “the sound is muffled and hard to hear” or “the noise is distracting”?
In short, by introducing VST plugins available for OBS, you can dramatically improve sound quality.
This article provides a detailed explanation of recommended VST plugins helpful for improving sound quality, regardless of cost, as well as installation methods and precautions. By using this as a reference, you can choose the necessary plugins and elevate your streaming audio quality to a professional level.

What is an OBS VST Plugin?
An OBS VST plugin is software used to enhance the quality of streaming by improving sound quality or adding effects. It’s technology specialized in music and audio processing that, when introduced to OBS, can achieve professional-grade audio effects.
For example, you can reduce ambient noise with a noise filter or optimize voice resonance with an equalizer. This helps provide pleasant sound for viewers, enhancing the impression of VTubers and streamers.
If you want to know what equipment is needed to become a VTuber, check out the article below.
Essential Streaming Gear for Aspiring VTubing: Beginner’s Guide
Top 7 Recommended Free VST Plugins for OBS
Here, we introduce seven VST plugins that can be installed in OBS for free.
- VST Limiter
- VST Equalizer
- VST Exciter
- VST Compressor
- VST Echo (Reverb)
- VST Noise Filter
- VST Voice Changer
Let’s examine each one in detail.
VST Limiter
The VST Limiter is a plugin that sets an upper limit on volume, automatically removing excessive sound to prevent distortion. Using a limiter can reduce listener discomfort caused by sudden volume changes during streaming.
“W1 Limiter” is a particularly recommended limiter.
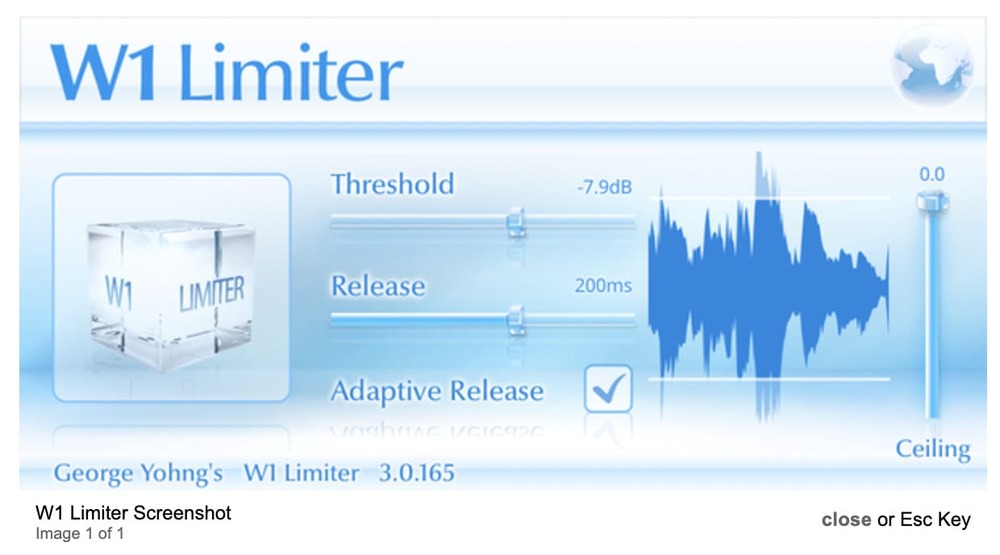
Its simple user interface and high effectiveness make it ideal for audio management in OBS. Originally modeled after a paid plugin, it’s attractive for its attention to sound quality.
VST Equalizer
The VST Equalizer is a plugin that adjusts specific frequency ranges of audio to make voices clearer and improve audio quality during streaming.
Using it allows for detailed adjustments, such as reducing the bass to eliminate muddiness or tweaking the treble to suppress harsh tones.
The recommended plugin, “TDR Nova,” allows you to visually confirm and adjust the pitch and strength of your sound, helping you intuitively understand the characteristics of your voice.

It can correct overly strong bass, resulting in a more balanced sound that’s easier to understand.
VST Exciter
The VST Exciter is a plugin that amplifies the high-frequency range to create vivid sound, providing listeners with more appealing audio. Using an exciter makes the audio brighter and clearer, and its effects are especially noticeable during song or music streams.
“Fresh Air – Slate Digital” and “La Petite Excite” are recommended plugins. Here are their features:
- Fresh Air: Achieves a professional, glamorous sound with simple operation
- La Petite Excite: Lightweight yet effectively enhances high frequencies
Use VST Exciter to maximize the appeal of your voice or music.
VST Compressor
The VST Compressor is a plugin that suppresses volume fluctuations, maintaining a stable audio level. It prevents sudden changes in sound, providing viewers with easily understandable streaming audio.
“MJUC jr.” is especially recommended when using a compressor in streaming.

Simple controls like “COMPRESS” and “MAKE-UP” allow for a wide range of audio processing.
Other recommended plugins include:
- SAFECompressor
- LoudMax
Choose plugins that suit your environment and objectives.
VST Echo (Reverb)
The VST Echo (Reverb) is a plugin that adds echo effects to the audio, giving depth and a sense of space to singing or spoken words.
The recommended plugin is “Space Knob.”
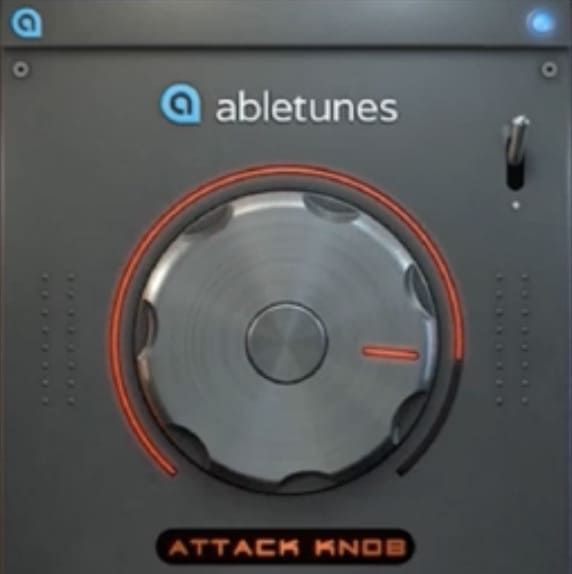
With a feature of simple design, it uses a single knob to adjust the strength of the reverb. It’s easy for beginners to handle and perfect for adding echo to vocals or audio effortlessly.
Additionally, “OrilRiver” and “Valhalla Supermassive” are also available options. Each provides unique acoustic effects, making it beneficial to switch according to the content or mood of your stream.
VST Noise Filter
The VST Noise Filter is a plugin that removes unwanted “buzzing” noise mixed during microphone input, providing clear audio.
“Reafir standalone” is a recommended VST plugin for noise removal, featuring automatic noise detection and elimination.
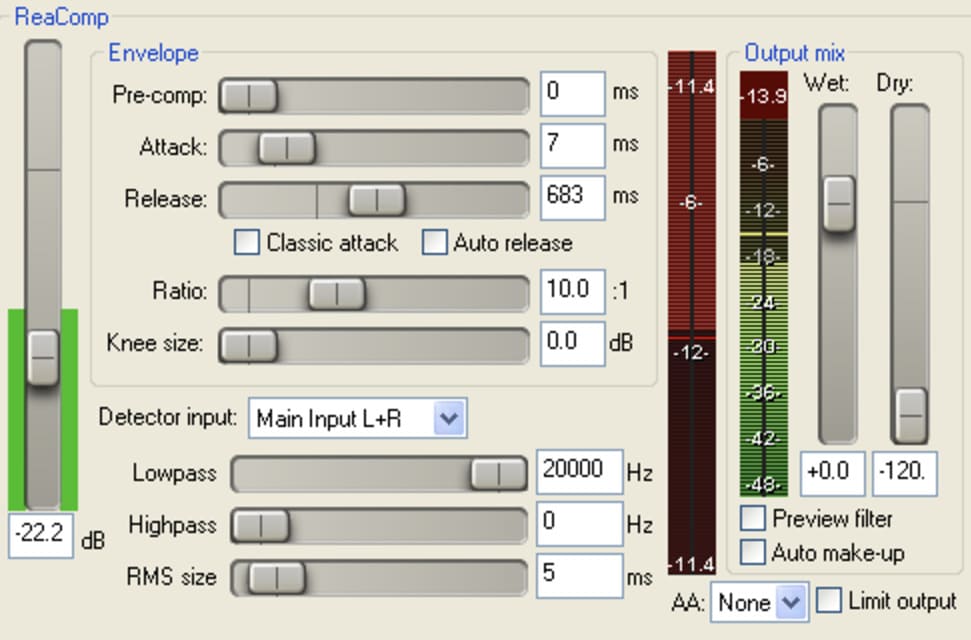
By setting “Mode” to “Subtract,” it analyzes and effectively removes noise frequencies. Its simple adjustment makes it easy to use for those not familiar with complex operations.
VST Voice Changer
The VST Voice Changer is a plugin that allows for various changes to your voice, enhancing the uniqueness and performance of your stream.
“Graillon3” is the recommended plugin. It’s appealing because it easily adjusts the pitch of the audio and adds effects like robot voice or pitch shift.
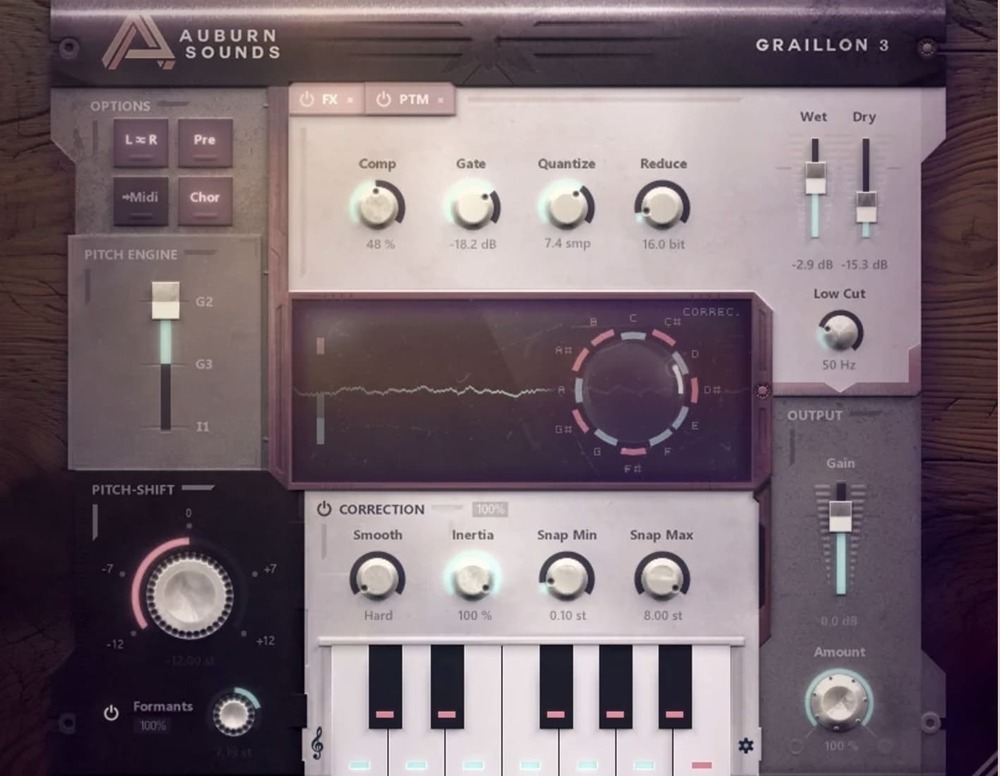
Effective for creating different voice styles in VTuber or character streams. Its user-friendly interface is popular with a wide range of users, from beginners to experienced individuals.
If you’re interested in how to use voice changers effectively, refer to the following article:
OBS Voice Changer Guide: Best Software and Easy Setup Tips
If you want to know more about how to set echo in OBS, check out the following article:
Free OBS Tutorial: How to Add Echo to Your Stream with Audio Filters
List of Paid VST Plugins for OBS
Paid VST plugins offer high-performance audio processing capabilities, allowing for detailed adjustments that free plugins can’t achieve.
We’ve compiled a list of paid VST plugins available for use in OBS below.
| Plugin Name | Function | Features | Recommended For |
|---|---|---|---|
| Autoformer | Compressor & Automatic Volume Adjustment | Low latency, simple operation, achieves stable volume | Streamers or VTubers who want to stabilize sound quality |
| DeeTrimCast | Automatic Gain Adjustment | Minimal delay, affordable, good operability | Beginners or streamers seeking easy volume adjustment |
| Voice De-noise | Noise Removal | Efficiently removes environmental noise, professional reliability | Streamers needing noise control or those streaming in noisy environments |
| HoRNet ThirtyOne | Automatic Equalizer Adjustment | Easy to operate and allows detailed 31-band adjustments | Professional streamers aiming to balance music or audio |
Check details on purchase sites and choose what best suits your stream.
How to Install VST Plugins in OBS
The method of installing VST plugins for use in OBS largely depends on the type of plugin, and there are two main patterns:
- If an installer is included
- If no installer is included
Let’s explain each installation method in detail.
Also, the article below covers how to install plugins in OBS, so be sure to check it out.
How to Install Plugins in OBS and Recommended Ones
If an Installer is Included
1. Start the Installation
If the downloaded plugin comes with an installer, run the file to start the setup. The installation process follows the standard flow of typical software.
2. Select the Destination Folder
During installation, unless there is a specific reason, it is recommended to use the default destination folder. This facilitates OBS and other software easily recognizing the plugin.
3. Check Recognition in OBS
After installation is complete, launch OBS and open the “Filters” settings. Check if the added plugin is displayed in the list. If recognized, the installation has succeeded.
If No Installer is Included
If there is no installer, you need to manually place the downloaded plugin data in the appropriate location.
Here’s how to set it up for both Mac and Windows.
Location on Mac
1. Destination Folder
If the plugin has the “.vst” extension, move it to the following folder:
| /Macintosh HD/Library/Audio/Plug-Ins/VST/ |
2. Confirm Permissions
When moving files to the folder, you may be prompted to enter your user account password by the system. In that case, enter your Mac login password.
3. Confirm in OBS
After moving the file, launch OBS and check in the “Filters” settings to see if the plugin is recognized correctly.
Location on Windows
1. Destination Folder
If the plugin has the “.dll” extension, place it in the following folder:
| C:\Program Files\VSTPlugins\ |
If you can’t find “C:\Program Files\”, search within the “Local Disk (C:)” drive. If the “VSTPlugins” folder doesn’t exist, create it anew.
2. Grant Permissions
If admin permissions are required when moving files, click “Continue” to complete the action.
3. Confirm in OBS
Restart OBS and check in the “Filters” settings to see if the plugin is recognized correctly.
How to Address VST Plugin Not Displaying in OBS
If the VST plugin is not displayed correctly in OBS, several causes may be considered. Below is a table summarizing the main causes and solutions.
| Cause | Solution | Details |
|---|---|---|
| Plugin might be corrupted | Reinstall the plugin | The data might be damaged during download or file transfer. Redownload from the official site. |
| Plugin depends on an old version | Install the latest version of the plugin and OBS | If the plugin is designed for an older version of OBS, it may not function correctly with a newer version. |
| Insufficient file access permissions | Launch OBS with admin rights and check folder permissions | The folder where the plugin files are stored may lack access permissions. Modify file or folder permissions if necessary. |
If the above doesn’t resolve the issue, using official plugin support is recommended.
If you have trouble with your microphone not picking up sound in OBS, check out the following article:
Fixing OBS Microphone Issues: Common Causes and Solutions
Points to Note When Installing OBS VST Plugins
When installing OBS VST plugins, pay attention to the following points:
- Confirm usable extensions
- Lag may occur
- Understand VST types
- Check your system’s bit count
Let’s explore each.
Confirm Usable Extensions
There are restrictions on the extensions of VST plugins that can be used with OBS, so you need to confirm them before installation. Below is a table that summarizes the main extensions and their compatibility with OBS.
| Plugin Format Name | Extension | Compatibility with OBS | Details |
|---|---|---|---|
| VST2 (Windows) | .dll | Compatible | Standard extension for Windows, usable with OBS. |
| VST2 (Mac) | .vst | Compatible | Supported extension for Mac with OBS. |
| VST3 | .vst3 | Not Compatible | Usable on both Mac and Windows but not supported in OBS. |
| AU (AudioUnits) | .component | Not Compatible | Mac-exclusive format but not supported in OBS. |
By correctly selecting the extension suitable for OBS, the plugins can function properly, enhancing the quality of broadcast audio.
Lag May Occur
VST plugins applying complex effects or those with high processing load may cause a lag of about 100-200ms.
Particularly prone to occur during advanced processing like reverb or noise removal, it can affect the real-time aspect of streaming. Choosing a lower load plugin or checking your PC’s performance can help improve the situation.
Understand VST Types
There are mainly two types of VST plugins: “Effectors” and “Instruments.” Only the effector type can be used with OBS.
Effectors are used for audio processing and adjustments, offering features like noise removal, reverb, and equalization. Instruments, on the other hand, generate sound as software sound sources, which are unsupported in OBS.
When selecting plugins, confirm they are effector types suitable for OBS’s audio management.
Check Your System’s Bit Count
There are 32-bit and 64-bit versions of VST plugins, and you must choose one that matches the bit count of the OBS or system you are using. A 64-bit version of OBS will not operate a 32-bit plugin, causing an issue where the plugin is not recognized if the wrong version is installed.
When downloading plugins, verify the bit count of your OBS or system beforehand, and select a compatible plugin.
In this explanation, we discussed how to utilize “VST plugins” in OBS to enhance the sound quality of your stream. By applying noise removal, volume adjustment, and echo effects, you’ll achieve a clearer and more comprehensible broadcast.