Best Streaming Gear for Gamers: Easy Guide for Beginners
Index
- List of Equipment Needed for Game Streaming
- How to Choose Streaming Equipment Without Regret as a Beginner
- Recommended Streaming Equipment Sets by Budget【100,000/150,000】
- Let’s Start Streaming! Steps for Beginners Once the Equipment is Ready
- Setting Up OBS and Connecting Microphone & Capture Card
- How to Use Live2D on iPhone (VTube Studio)
- It’s Okay to Stream as Limited Release First! How to Conduct a Test Stream
- After One Stream, You’ll Recognize What to Purchase Next
- Common Questions and Troubleshooting Q&A (Microphone Not Working, Audio Lag, etc.)
- Summary
Playing your favorite games while connecting with someone. More and more people have become interested in the world of game streaming.
It seems fun, and if you’re successful, monetization isn’t just a dream. However, when you actually try to get started, you might find yourself hesitating, not knowing what equipment you need and where to begin.
This article will clearly introduce essential equipment, tips for choosing gear, and recommended setups based on different budgets, aimed at beginners who want to challenge game streaming.
List of Equipment Needed for Game Streaming
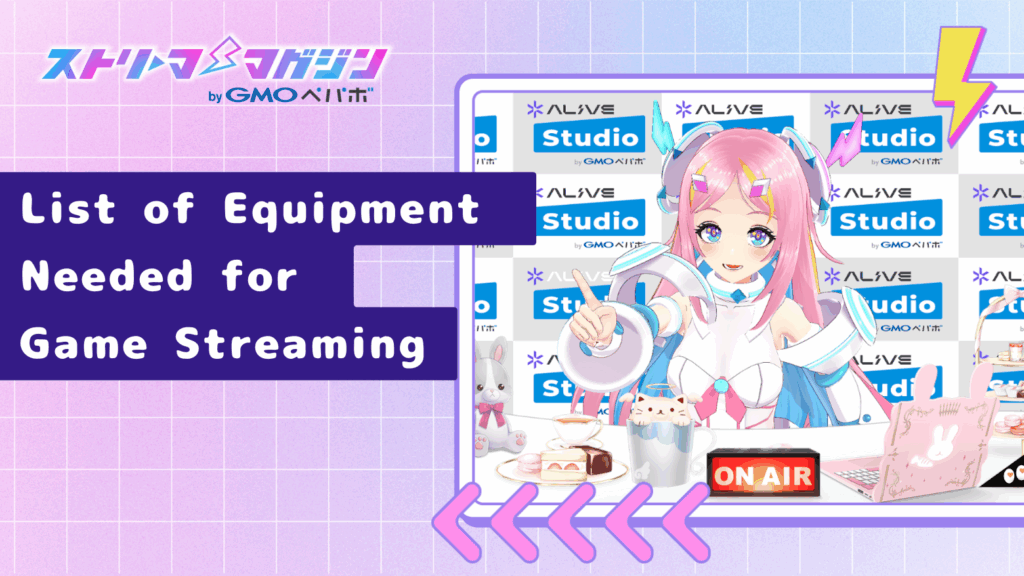
When starting game streaming, the first thing that comes to mind is, “What do I need to get?”
You don’t have to overthink your equipment choices.
There aren’t that many basic items you need. Let’s first establish the bare minimum required to start streaming.
Here, to prevent confusion for beginners, we will organize and introduce the four essential pieces of equipment, the various points that change based on streaming styles, and the often overlooked peripheral devices.
Four Basic Equipment for Game Streaming
With just these four items, you can start streaming.
- Computer The main hub for your streaming. If you plan to stream PC games, you’ll need decent specs. For console game streaming alone, a mid-tier computer is sufficient.
- Microphone An essential piece of equipment for transmitting your voice. A headset is acceptable, but if you prioritize audio clarity for your audience, starting with a USB microphone is recommended.
- Streaming Software (like OBS) Software that sends audio and video out to your stream. OBS Studio, which is free, is a popular choice.
- Internet Connection Often overlooked, but without a stable upload speed, high-quality streaming will be difficult. A wired connection is preferable.
If you have these covered, you are ready to start streaming.
Equipment Changes Based on Streaming Style (PC/PS5/Switch/Facecam)
The equipment you need may change slightly depending on what kind of games you want to stream.
- If streaming PC games You will need a computer with higher graphics performance. Since you don’t need to capture video directly, a capture card is unnecessary.
- If streaming console games (like Switch or PS5) You will need a capture card to bring video from the console into your computer. Depending on the game, check for HDMI pass-through functionality as well.
- If you want to use a facecam or avatar You will need equipment to capture your face or expressions, such as a webcam or a tracking app using an iPhone. If you use Live2D or 3D models, camera accuracy also becomes important.
By visualizing your desired style in advance, you can avoid unnecessary purchases.
Often Overlooked Peripheral Equipment for Beginners
Once you start streaming seriously, you might find that certain items are surprisingly necessary.
- Lighting (like Ring Lights) Good lighting improves camera appearances even in dark environments during game streaming. Recommended for those who want to include their face while streaming.
- Microphone Arm & Pop Filter Useful items if you want to focus a bit on audio quality. They help stabilize the distance to your mouth and reduce plosives.
- Second Monitor Separating your game screen from your streaming software’s control screen significantly reduces stress during streaming.
You can always purchase these items later on as needed. There’s no need to have everything at once, so just start streaming and consider what you find necessary as you go.
How to Choose Streaming Equipment Without Regret as a Beginner

When you decide to buy equipment, it can be overwhelming to see many similar products and not know which to choose.
Have you ever had that experience?
Choosing based on the lowest price might lead to insufficient performance, or on the other hand, selecting something too advanced may make it hard to use effectively. Those voices are quite common.
Here are some basic points to consider when choosing your equipment, compiled so that beginners can avoid regret.
Don’t Just Select Based on Price! Key Performance Points to Check
It’s easy to get caught up in prices, but it’s important to look at the performance of the equipment when making a choice. However, you don’t need to understand every complex specification. Just grasp the key points.
For example, for computers:
- CPU: Intel Core i5 or Ryzen 5 or higher Processing power is crucial for streaming multiple tasks simultaneously.
- Memory: Aim for 16GB While you can stream with 8GB, opening multiple applications can result in stuttering.
- Having a Graphics Card (GPU) considerably improves comfort If you’re gaming on a PC, a GPU like the GeForce RTX series is almost essential.
The same applies to microphones and cameras; for instance, choosing a “cardioid” pattern will ensure that only the speaker’s voice is captured clearly.
Looking at specifications from the perspective of whether they fit your usage makes it easier to choose.
USB Microphone vs. Audio Interface: Which is Better?
A common topic when selecting audio equipment is, “Should I go for a USB microphone or an XLR microphone?”
In conclusion, it’s easier and recommended for beginners to start with a USB microphone. It plugs right into your computer, and there are plenty of models with great sound quality available now.
On the other hand, a combination of an audio interface and an XLR microphone allows for higher sound quality and greater flexibility, making it a choice for more professional streamers. However, it comes with higher initial costs and requires a bit more knowledge.
If you want to start casually and assess your interest in streaming before getting serious, a USB microphone will suffice. Later, you can upgrade when you decide to focus more on sound.
What Should You Gather First? Priority to Avoid Wasteful Purchases
As you browse, your shopping list can end up growing rapidly.
During such times, having clear priorities can help reduce waste.
Initially, prioritize the items that form the foundation of your streaming setup.
- Computer (or a suitable streaming environment)
- Internet connection (stability is crucial)
- Microphone (at minimum, ensure your voice is clearly captured)
Once you have these sorted, next consider:
- Streaming software (like OBS)
- Camera (for facecam or avatar)
- Capture card (for console games)
Thinking in this order will make it less likely for you to make mistakes.
By the way, lighting, monitors, and microphone arms can be added later once you start streaming and realize they’d be convenient.
It’s okay not to aim to have everything from the beginning.
Recommended Streaming Equipment Sets by Budget【100,000/150,000】
You may want to start streaming but wonder, “How much is it going to cost to get everything?”
In reality, there are endless options to customize gear, but you don’t need to strive for a perfect setup from the start.
The important thing is to select equipment that fits your desired streaming style within your current budget.
Here, based on budget lines of 100,000 and 150,000 yen, we’ll introduce some recommended setups that beginners can adopt without worry. *Please verify the actual prices before purchase, as they may fluctuate.
Light Streaming Set Starting from 100,000 Yen
First, let’s keep costs low while ensuring minimum quality is met.
This setup is ideal for such needs:
- Microphone: FIFINE K669B (USB) Affordable yet good audio quality. Simple plug-and-play USB connection.
- Capture Card: GV-USB3/HD (I-O Data) Compatible with Switch and PS5 streaming. It covers all essential features.
- Webcam: Logitech C270n A standard model useful for facecam streaming and avatar tracking.
- Lighting: Ring Light (around 3,000 yen at Amazon) An incredible cost-effective item that dramatically brightens your expressions.
- Second Monitor: Used 24-inch Full HD Monitor Required for operating streaming software and displaying comments. You can find used ones for under 10,000 yen.
If you already own a computer, this setup should come in around 70,000 to 100,000 yen.
Start with the essentials and gradually upgrade as needed.
Curated Streaming Set for 150,000 Yen
If you want to pay attention to video and audio quality.
Finally, you might want to select a few high-quality items that you can use for a long time.
This setup offers a bit more flexibility:
- Microphone: audio-technica AT2020USB+ Clear and natural audio quality, great for both streaming and narration.
- Capture Card: Elgato HD60 X Supports 4K pass-through and is highly stable, popular among professional streamers.
- Webcam: Logitech C920s Full HD support with excellent quality and color balance. Great compatibility with VTube Studio.
- Lighting: Neewer 12-inch LED Ring Light Adjustable light intensity and color temperature for adapting to your environment.
- Second Monitor: New 24-inch Full HD (BenQ, I-O Data etc.) Convenient for displaying comments and controlling OBS. New ones can be around 15,000 yen.
- Microphone Arm & Pop Filter: Set for around 3,000 yen Improves aesthetics and usability.
This setup would generally cost around 130,000 to 150,000 yen.
This approach enhances total satisfaction and avoids the need for re-purchases as you continue streaming.
Even with a limited budget, it’s important to prioritize the desire to start.
Once you begin, you’ll naturally notice areas you want to improve, allowing you to step-up gradually.
Let’s Start Streaming! Steps for Beginners Once the Equipment is Ready
Once your game streaming equipment is set up, all that’s left is to try using it.
However, before that, let’s do some preparations and settings for your stream.
This section will provide a rough overview of setup methods, key points, and solutions to common issues.
Setting Up OBS and Connecting Microphone & Capture Card
The software used for streaming is “OBS Studio.”
It’s free yet feature-rich, making it a good choice for beginners.
If you haven’t installed it yet, first download it from the official site.
Here are the basic initial settings:
- Microphone Settings When OBS is launched, check if “Mic/Aux” appears in the audio mixer. If not, choose your microphone from “Settings” → “Audio.”
- Capture Game Screen (PC Games) Add “Game Capture” under “Sources.” Specify the game screen you are playing, and you’re all set.
- Capture Console Games (Switch/PS5) Add “Video Capture Device,” and select the connected capture card. If it doesn’t show, check USB ports and drivers.
- Adjust Streaming Output Under “Settings” → “Output,” set the bit rate to 5000-6000kbps. Choose the encoder like “NVENC” or “x264” based on your computer’s capability.
If you are streaming to YouTube or Twitch, choose the service under “Settings” → “Stream” and enter the stream key to complete the connection.
For a detailed guide on how to use OBS Studio, check the following article.
Your game screen and audio preparation are now complete.
Next, let’s look at the settings for those using an avatar.
How to Use Live2D on iPhone (VTube Studio)
If you want to use a Live2D avatar, “VTube Studio” is recommended.
Especially for iPhone users, it allows for quite natural reflection of facial movements and expressions.
Here are the steps:
- Install VTube Studio on your iPhone Download from the App Store. It can be used for free, but upgrading to a paid version can remove ads and logos.
- Install and launch the PC version Obtain it via Steam or similar, connect your smartphone and PC to the same Wi-Fi, and pair them.
- Display Avatar in OBS On the OBS side, use “Game Capture” or “Window Capture” to capture the VTube Studio screen.
If it doesn’t move smoothly, adjusting your iPhone’s position or enhancing lighting with a ring light might help improve it.
It’s Okay to Stream as Limited Release First! How to Conduct a Test Stream
Once you’re ready with your stream setup, before jumping into the main event, try a test stream.
Platforms like YouTube and Twitch allow you to stream privately to yourself, whether as unlisted or completely private.
The OBS preview feature is handy, but test streaming in real conditions provides a different level of reassurance.
Here are the points you should check:
- Microphone volume and clarity of your voice
- Balance with game audio and BGM
- Avatar and camera display/movement
- Readability of the comments section and overall layout
Recording the test for later review is also recommended.
Discoveries like “It’s a bit dark,” or “My voice might be too quiet” can significantly enhance your stream quality.
After One Stream, You’ll Recognize What to Purchase Next
Upon actually streaming, you might notice areas where “I’d like to improve this.”
That small realization can guide your next equipment choices.
Common improvement patterns include:
- Microphone placement is unstable → A microphone arm would be handy
- Expressions are not recognized well → Adding lighting helps improve accuracy
- Comments are hard to read → Introducing a second monitor will enhance operation comfort
You don’t need to have everything ready from the start.
As you stream more, you can add the necessary items one by one.
Common Questions and Troubleshooting Q&A (Microphone Not Working, Audio Lag, etc.)
Finally, let’s discuss some common issues that arise during initial streams and how to address them.
- Microphone Not Working
Check if it’s responding in the OBS audio mixer. Make sure you didn’t mistakenly select a different device.
For detailed solutions, refer to this article:
Why Isn’t My Microphone Working in OBS? Potential Causes and Solutions! - Game Audio Not Playing
Check audio output settings on the capture card or the console itself.
For detailed solutions, check this article:
Why Isn’t Game Audio Coming Through OBS? Causes and Solutions Explained - Audio Lag is a Concern
You can adjust the audio delay using “Sync Offset” in OBS.
For more detailed solutions, check out:
What Causes Audio Delay in OBS? Comprehensive Fixes and Settings Explained - Video is Stuttering/Freezing
Try lowering the bitrate or resolution. Reducing the load on your PC or connection may also help.
You can find more detailed solutions in this article:
What to Do When OBS is Heavy, Laggy, or Choppy - Comment Section Not Displaying
Check if the chat settings is disabled on the streaming service’s side.
If any issues arise, just calmly check one at a time, and you’ll be fine.
Summary
Starting your first game stream can seem daunting, but by gathering equipment step by step, you might find it surprisingly easy to get going.
The key is not to aim for perfection from the get-go.
Gather the essential equipment and actually start using it. From there, gradually address any realizations and areas for improvement.
Microphones, cameras, and capture cards. While I’ve shared tips on how to choose based on your budget, there’s no need to acquire everything at once. As you practice streaming, finding your own style will be the best shortcut.
And above all, don’t forget to have fun. Your first stream may feel nerve-wracking, but looking back, it will surely be a valuable first step.


