


Share


Choosing the Right Mic: AT2020 vs AT2040 and How to Use AT-UMX3
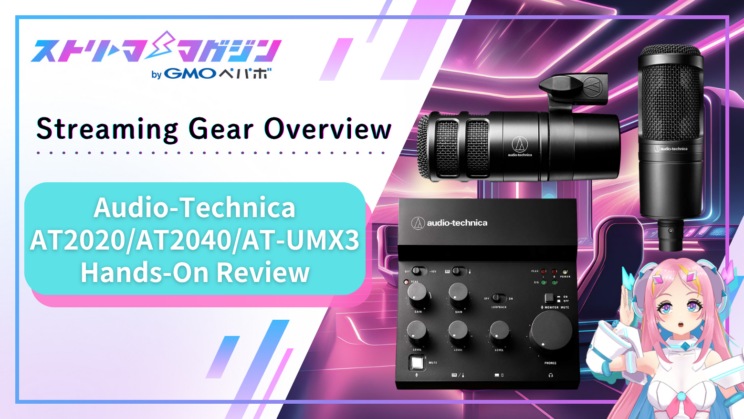
When you first start streaming, sound-related problems never seem to end.
- Voice sounds muffled
- Noise is picked up
- Volume balance is difficult to adjust
The main reasons are the compatibility of the equipment or the complexity of its operation.
Simply buying a new microphone might not solve the problem. If you continue using a microphone that doesn’t suit your room environment, you’ll continue to be plagued by ambient noise no matter how expensive the equipment is.
As a remedy for this issue, the combination of Audio-Technica microphones AT2020/AT2040 and the audio mixer AT-UMX3 is recommended. The AT-UMX3 is a mixer designed and sound-evaluated focusing on the AT2020 model, with gain setting guidelines for both AT2020 and AT2040 printed directly on the unit. The greatest advantage of this combo is that it eliminates the initial uncertainty of “Is this setting correct?” right from the start.
How to choose which microphone fits your room and how to pair it with the AT-UMX3 will be covered in this article.

Choosing Between AT2020 and AT2040 Based on Your Room Environment
In summary, selecting between AT2020 and AT2040 is best done by considering compatibility with your room environment rather than focusing solely on sound quality superiority.
The rule of thumb is simple: if your room is quiet, AT2020 is a good choice. If ambient sounds are prevalent, AT2040 might be more stable.
Comparison Table
| AT2020 | AT2040 | |
|---|---|---|
| Microphone Type | Condenser Microphone | Dynamic Microphone |
| Suitable Environment | Quiet rooms, environments with little reverberation | Rooms prone to ambient sounds, high-reverb settings |
| Resistance to Ambient Noise | Lower (prone to picking up) | Higher (harder to pick up) |
| Recommended Usage | Ideal for chat and singing where delivering a clear voice is prioritized | Best for game commentary where clarity and noise reduction are prioritized |
AT2020: Strength in Vocal Clarity and Transparency
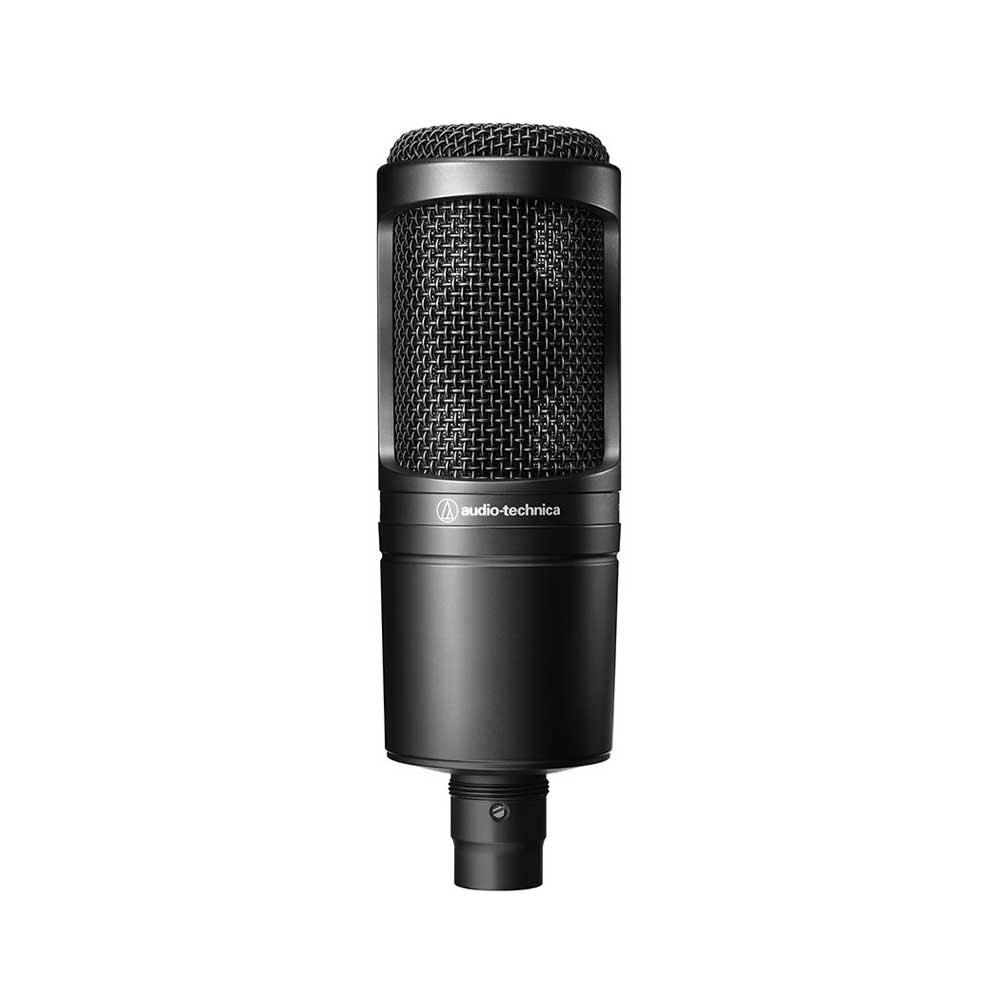
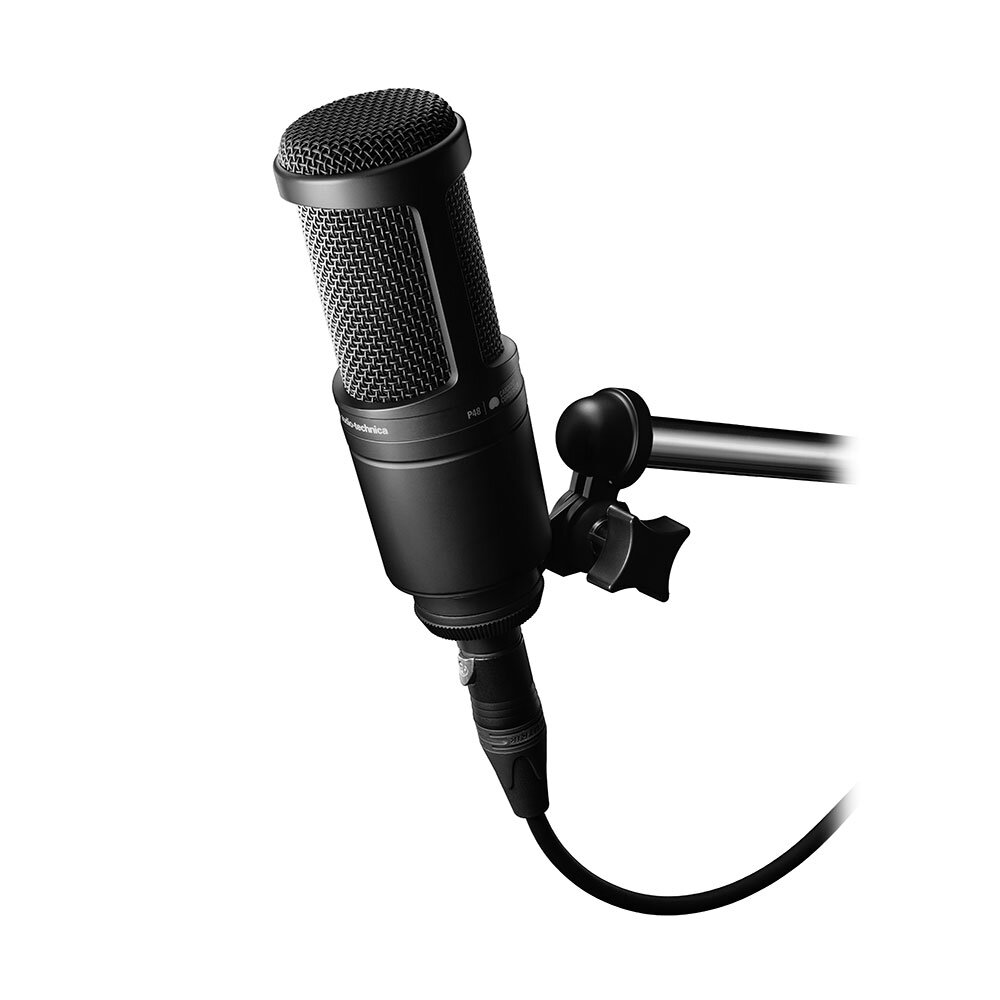
※Images sourced from the Audio-Technica official site
The AT2020 is a type of condenser microphone, known for capturing detailed surrounding sound. In use, you can sense that the sound is captured beautifully and naturally, highlighting its vocal transparency and clarity. It works well with casual chats or singing streams aimed at delivering clear voice quality.
However, it also captures surrounding noise accurately. It performs best in quiet environments, but struggles to utilize its full potential if the recording environment is not adequately set up. This microphone suits those prioritizing “less ambient noise and clear vocal recording.”
Note that +48V (phantom power) is essential during use. If forgotten, either no sound is produced or the sound becomes extremely faint, so handle with care.
AT2040: Stable Performance by Rejecting Ambient Noise
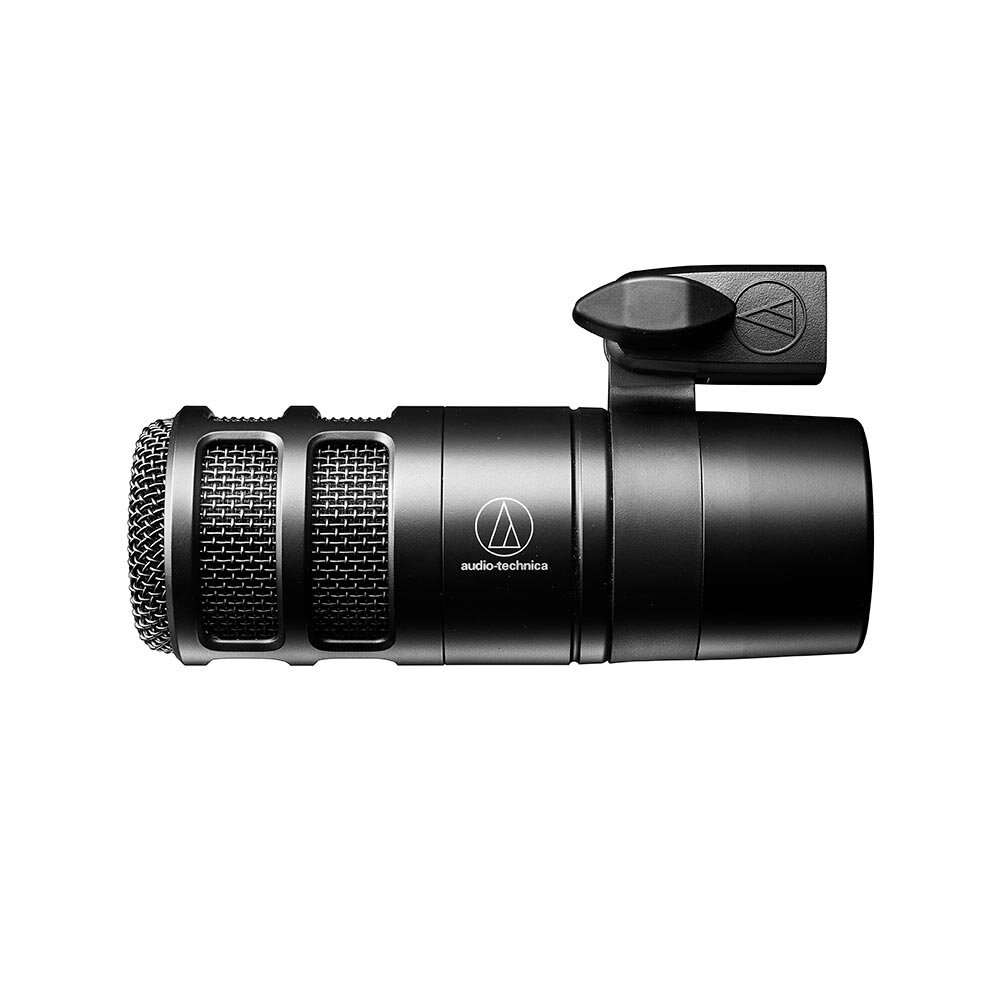
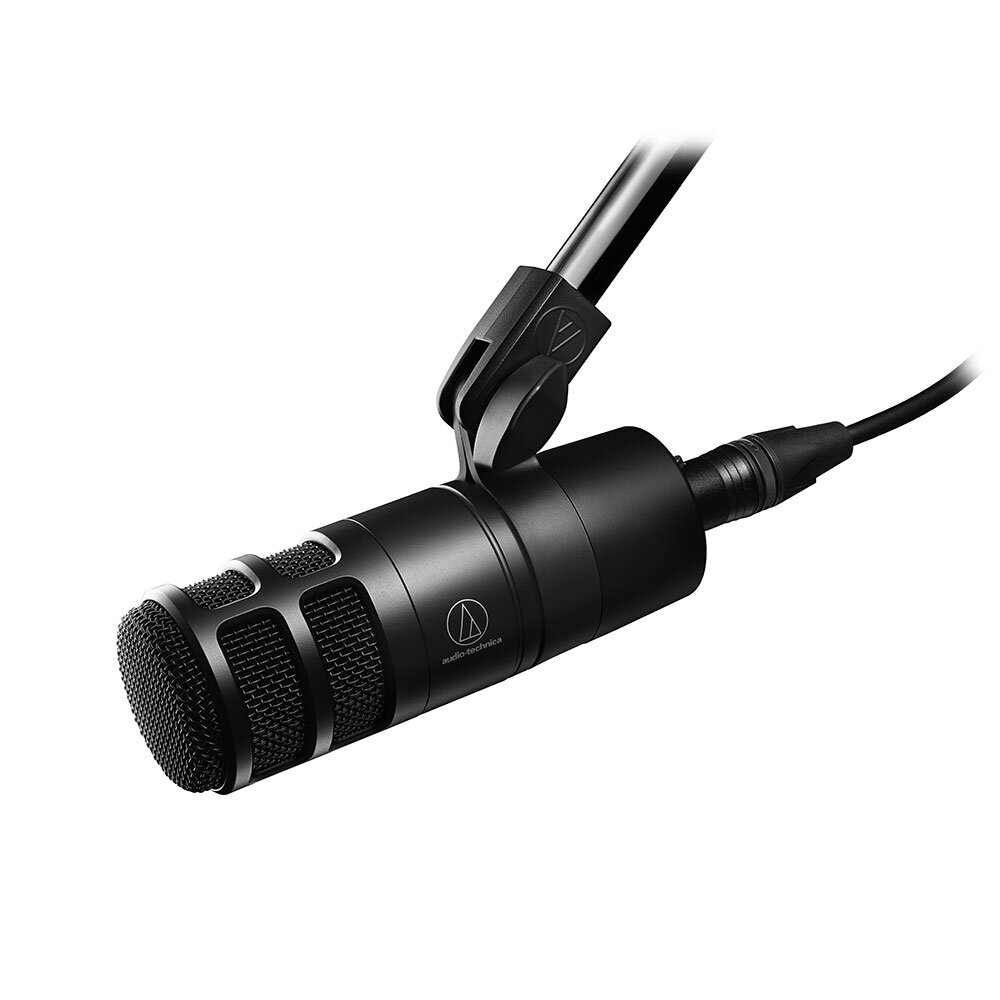
※Images sourced from the Audio-Technica official site
The AT2040 is a type of dynamic microphone, designed to capture targeted audio with pinpoint accuracy. The sound resembles that of radio or podcasts, with a solid bass tone for a relaxed voice. It ensures an easy listening experience during long streams, minimizing listener fatigue.
Because it picks up sound directly from the pickup area, maintaining the mouth position with an arm is key. Conversely, this characteristic ensures it does not easily pick up off-axis environmental noise, showing stable performance in less controlled settings.
[Video Comparison] Impact of Ambient Sounds (Typing Sounds)
There’s no better way to understand the sound differences between these two microphones than by actually listening to them.
For detailed recording conditions, please refer to the below.
Recording Test Conditions
- Distance from mouth to microphone: approximately 10cm
- Distance from keyboard to microphone: approximately 30cm
- Gain: Within the maker’s recommended white line range (feels like it’s slightly above halfway)
- No pop guard used
- Microphone orientation: AT2020 directly in front of the mouth, AT2040 angled upwards towards the mouth from below
- Air conditioner: OFF
※Gain refers to how much the input sound is amplified (input volume). Raising too much can lead to noise or distortion, so it’s safest to start modestly and make adjustments.
※The white line (recommended range) on the AT-UMX3’s GAIN knob serves as a guide to avoid excessive increases or decreases. Optimal settings vary based on factors like voice volume, proximity to the microphone, microphone type, and setup method. Even within the white line, typing sound might be pronounced, so adjust basing on “minimizing gain while ensuring the voice reaches adequately.”
Summary of Choosing the Right Option
- If your room is quiet and you want clear vocal recordings → AT2020
- If you want to reduce ambient noise and enhance clarity first → AT2040
Regardless of your choice, it’s fundamental to use the microphone “close to your mouth.” Just being mindful of the distance completely changes sound stability.
Once you’ve chosen your microphone, let’s look at the next key player, the mixer “AT-UMX3.”
AT-UMX3: Centralizing Audio Adjustments at Your Fingertips
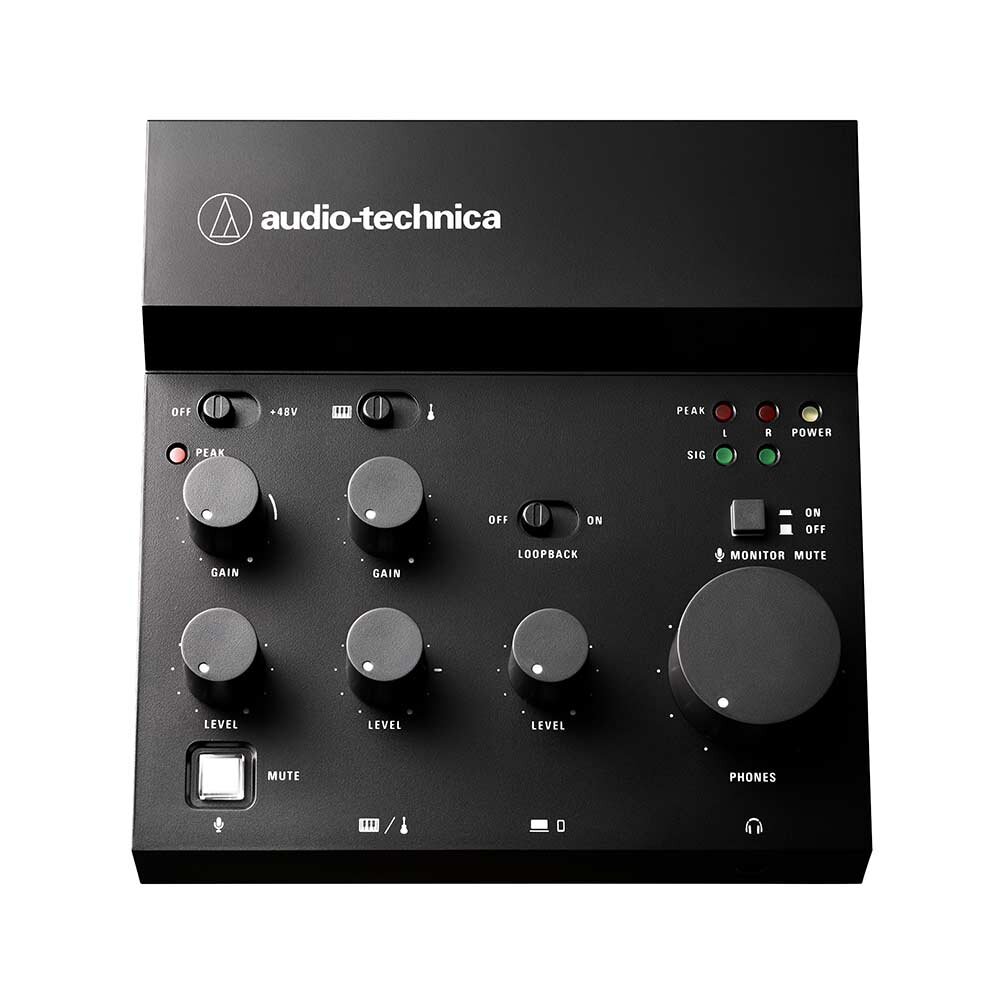
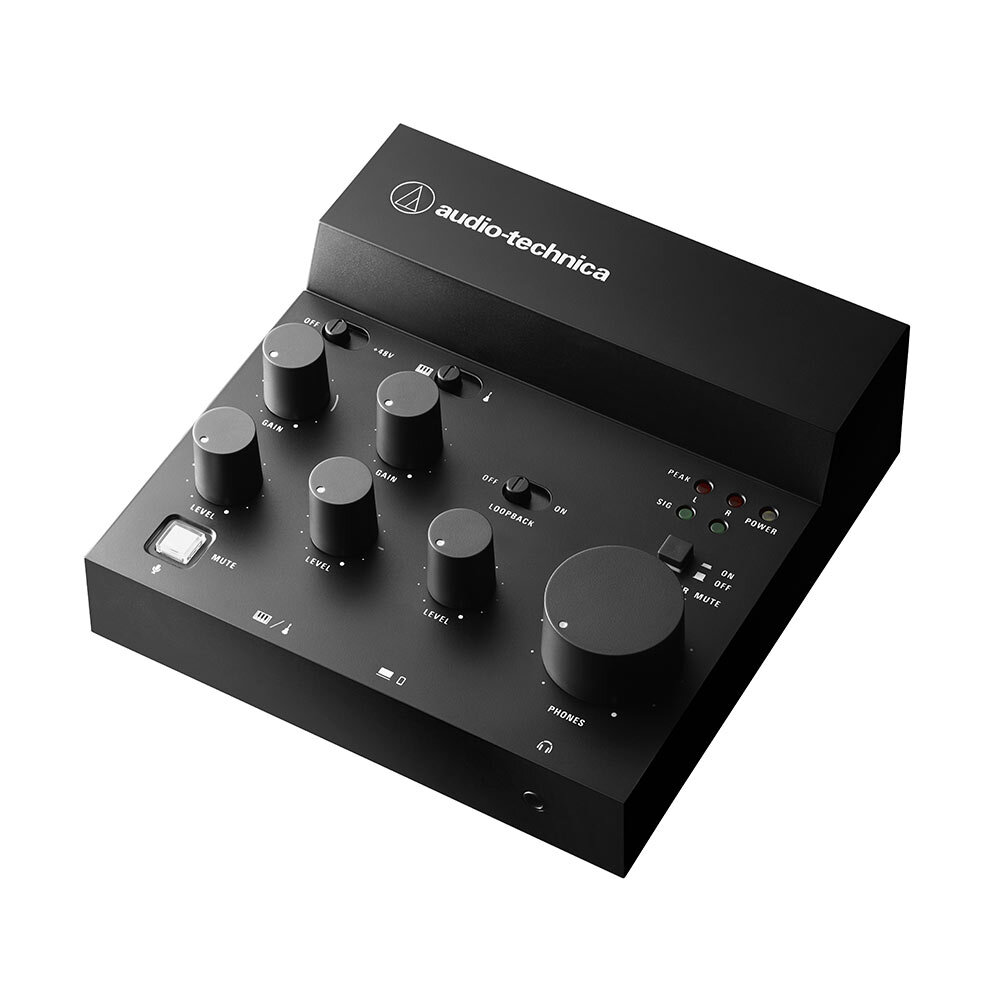
※Images sourced from the Audio-Technica official site
The AT-UMX3 is a compact audio mixer usable via USB. It handles microphone input, headphone monitoring, and adjusting volume balance during the broadcast. Its notably small size ensures it won’t interfere even on your desk.
Volume adjustments are possible through OBS, but manually changing settings during a stream can be cumbersome and prone to errors. Keeping the AT-UMX3 within reach allows you to adjust mic volume and balance without even having to look at the screen.
Usage feedback notes that controller responsiveness is good, with no extra noise introduced. Additionally, it features a loopback switch, making it thoughtfully designed for the streaming environment.
Honestly, I’m impressed by the craftsmanship at this price point.
Common Initial Confusion Points
The presence of numerous mute buttons may initially cause confusion about which to press. However, understanding each control’s purpose eliminates any problem.
Instead of trying to utilize everything from the start, familiarize yourself with each function gradually as you get more comfortable.
Peripheral Equipment: Increasing Comfort and Reducing Mishaps
Once your microphone and mixer are set, the next items to consider are a microphone arm and headphones. These significantly enhance comfort during broadcasts.
Microphone Arm: AT8705/AT8700J
Selecting based on how the microphone is positioned is straightforward. The constant distance from your mouth directly affects sound stability.
- AT8705: Best suited for suspending AT2020 from above
- AT8700J: Ideal for configuring AT2040 upwards to the mouth
Monitoring Headphones: ATH-M50x
These allow you to confirm in real-time whether “your voice is being delivered correctly” and whether the “balance with game audio is correct.” Especially recommended for those who often struggle with volume balance.
Microphone Cable: BX3/3.0
This is a trusty standard cable that doesn’t alter your audio with unwanted nuances. It’s a good choice for those hesitant about their first purchase.
Recommended Purchase Order
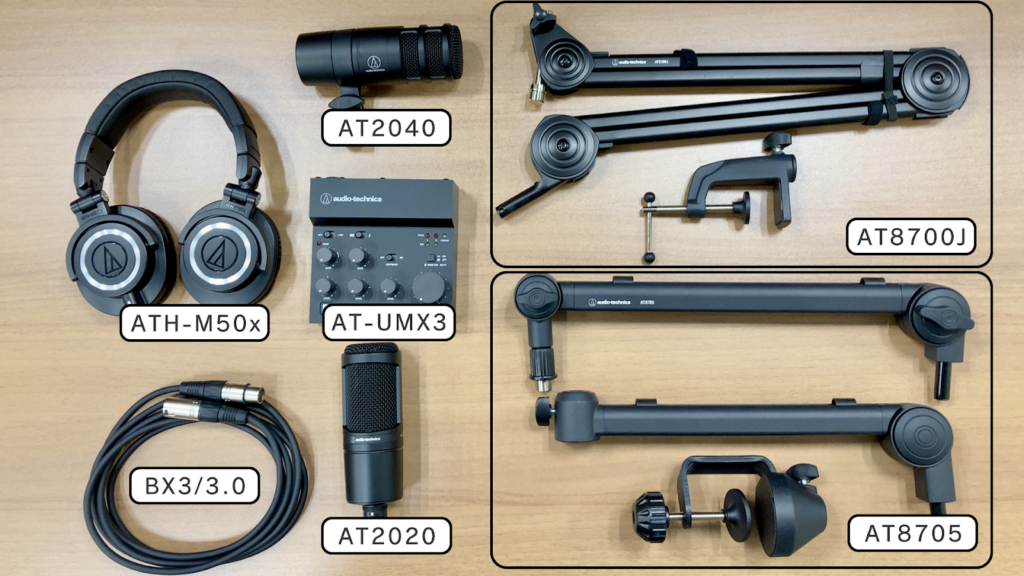
Choosing a microphone can become overwhelming quickly, leading to indecision. It helps to first purchase the AT-UMX3, then choose between AT2020 or AT2040 based on room conditions, reducing the deliberation.
- First Purchase: AT-UMX3 (USB Audio Mixer) + BX3/3.0 (XLR Cable) + ATH-M50x (Headphones)
- Next Choice (Branch): AT2020 (for quiet rooms) or AT2040 (for noise reduction)
- Finalize Setup: Microphone Arm (either AT8705 or AT8700J)
Post-Purchase: Connecting and Setup Procedure
Once you have all the gear, understanding the full wiring layout can simplify troubleshooting if an issue arises. The minimal setup includes:
Microphone → AT-UMX3 → PC (OBS, etc.) Headphones → AT-UMX3 (Monitor your voice and game sound)
If you connect the USB power adapter before connecting to the smartphone or tablet, the device may not be recognized. Always connect the smartphone or tablet first, then the USB power adapter.
For connecting to iPhone or iPad with a Lightning connector, use the Apple Lightning-USB Camera Adapter instead of the included USB conversion adapter (USB Type-A → USB Type-C).
When setting up, the most important rule is not striving for perfection at first. Start small by doing a step-by-step check: “Make the sound audible → Ensure that voice transmits → Add OBS filters if necessary.” This simplifies pinpointing issues.
Here’s the detailed procedure:
Step 1: Connect Only the AT-UMX3 to the PC and Confirm “Output”
1. Connect AT-UMX3 to the PC via USB
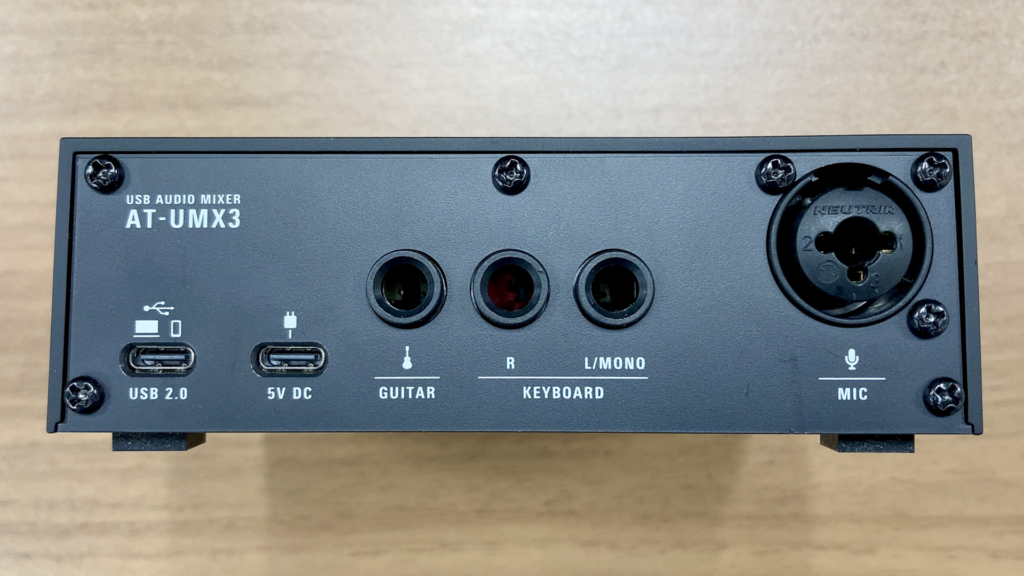
2. Change the PC’s audio output to AT-UMX3
3. Insert headphones into AT-UMX3 and check if sound from sources like YouTube is audible
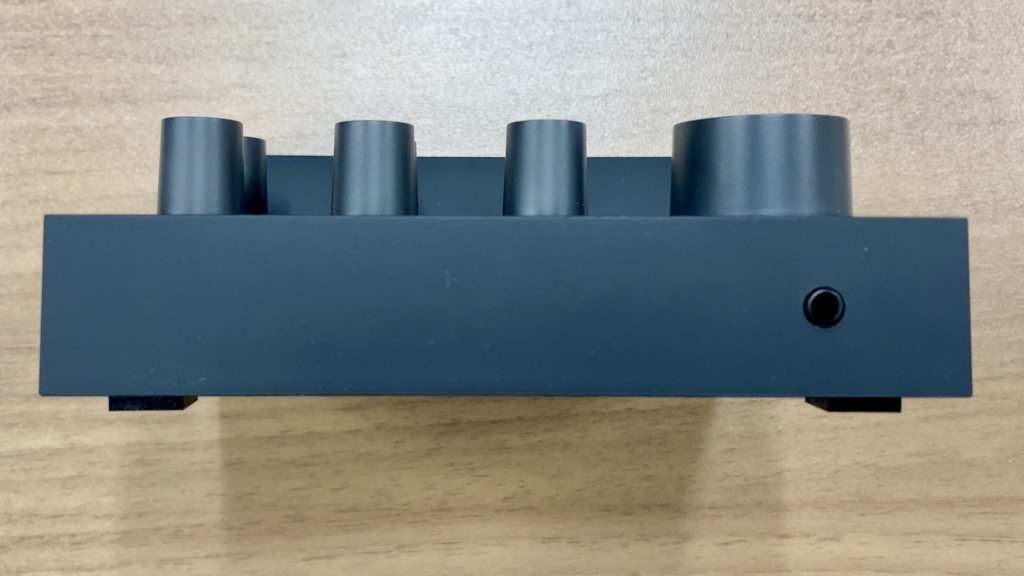
Step 2: Connect Mic to Confirm “Input”
1. Connect the microphone to AT-UMX3 using an XLR cable
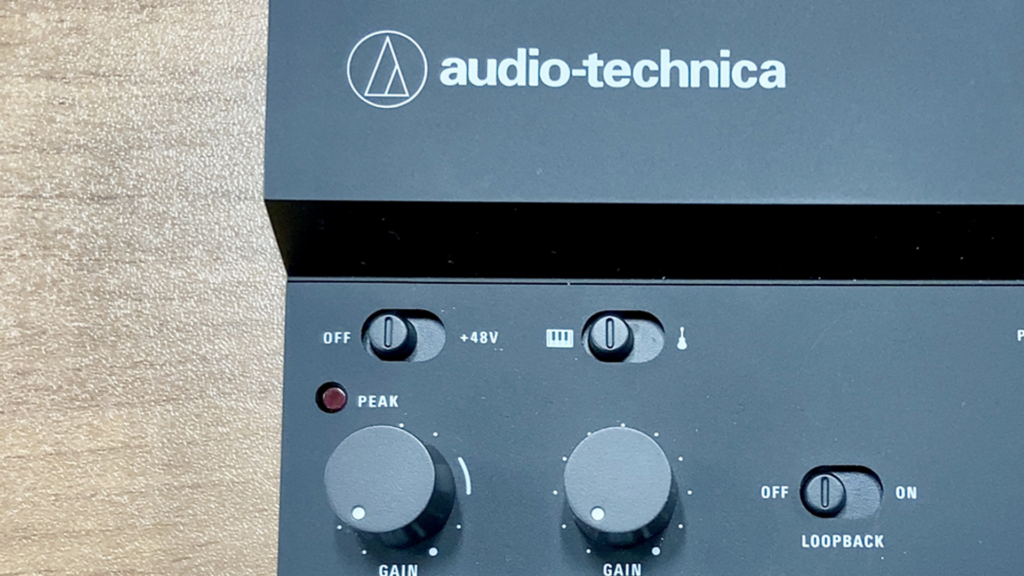
2. For the AT2020, turn on the +48V (phantom power) switch
3. Speak at an approximate distance of 10cm from the microphone and check for response levels
Step 3: Set Only the “Input Device” on OBS
1. In OBS, set the mic input device to AT-UMX3 (OBS Mic Setup)
2. Initially, confirm only if voice transmits without filters
Step 4: Organize Broadcast Operations
1. Adjustments during broadcasts should be completed using the onboard knobs
2. If viewers mention low voice levels, increase gain while avoiding excessive elevation
Common Stuck Points
Jumping directly into OBS filters is the most common issue. Doing so complicates isolating issues, confining the check to “ensuring voice transmits without filters” first is best.
Another frequent concern is overloading the gain. Audio distortion (when volume is too high and becomes garbled) often occurs unnoticed in broadcasts, so regular confirmation is reassuring.
Conclusion
The most crucial aspect of selecting a microphone is ensuring it fits your room more than focusing on specifications. Simply selecting an AT2020 for a quiet room or an AT2040 for environments with much ambient noise resolves most sound-related issues.
Furthermore, as the AT-UMX3 is designed based on the AT2020, you can start using it immediately without worrying about compatibility issues in combinations. This setup alleviates all anxieties about not knowing what to purchase.
Start with one of these setups based on your room environment:
- For clear vocal projection in a quiet room: AT2020 + AT-UMX3 + ATH-M50x + AT8705
- To reduce ambient noise for better audibility: AT2040 + AT-UMX3 + ATH-M50x + AT8700J
Sound influences the listener experience far more than most people imagine. Once audio settings are stabilized, all that remains is to focus on stream content.
ーーーーー
For those interested in the equipment reviewed here, check out the official sites:
AT2020: https://www.audio-technica.co.jp/product/AT2020
AT2040: https://www.audio-technica.co.jp/product/AT2040
AT-UMX3: https://www.audio-technica.co.jp/product/AT-UMX3
Equipment Cooperation: Audio-Technica Corporation
Review: Umazura